

Welcome to the comprehensive guide on managing the RBS WorldPay module, designed to streamline and enhance your website's payment processing capabilities. This step-by-step walkthrough will guide you from installation to customization, ensuring seamless integration with the RBS WorldPay payment system.
|
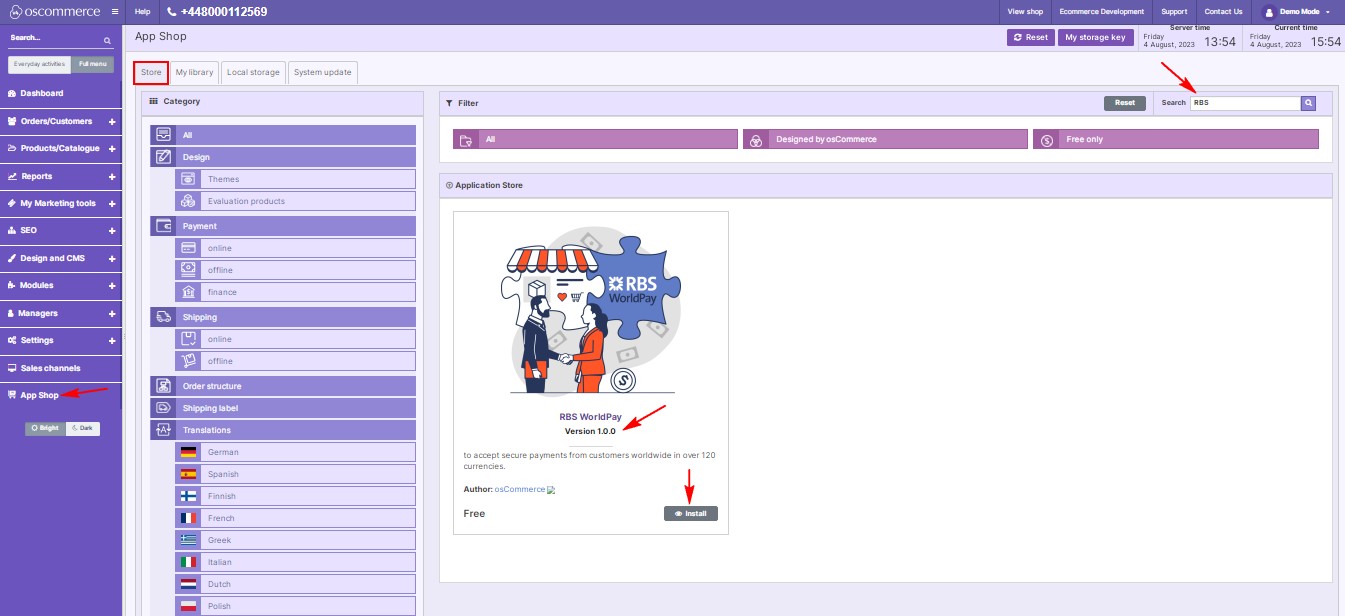
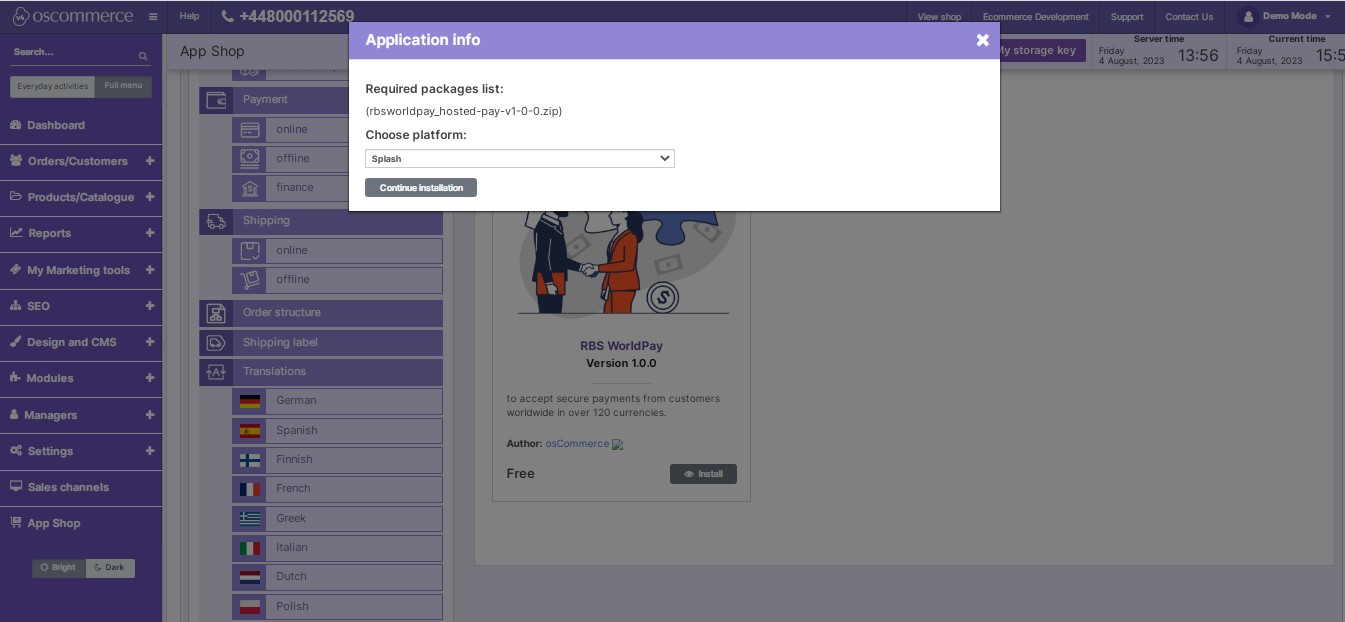
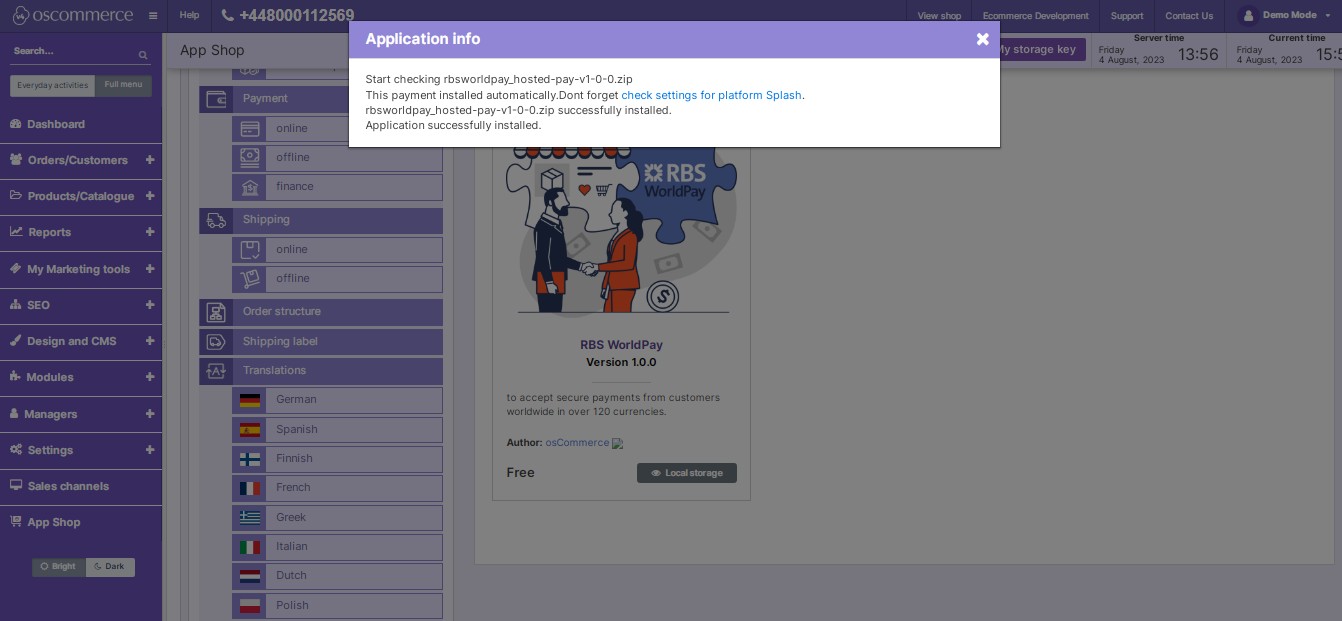
Step 1: Installation To kickstart the process, access your website's admin area and navigate to the "App Shop" and "Store" tabs. Locate the RBS WorldPay module (version 1.0.0) and follow on-screen prompts for a hassle-free installation. |
|
|
|
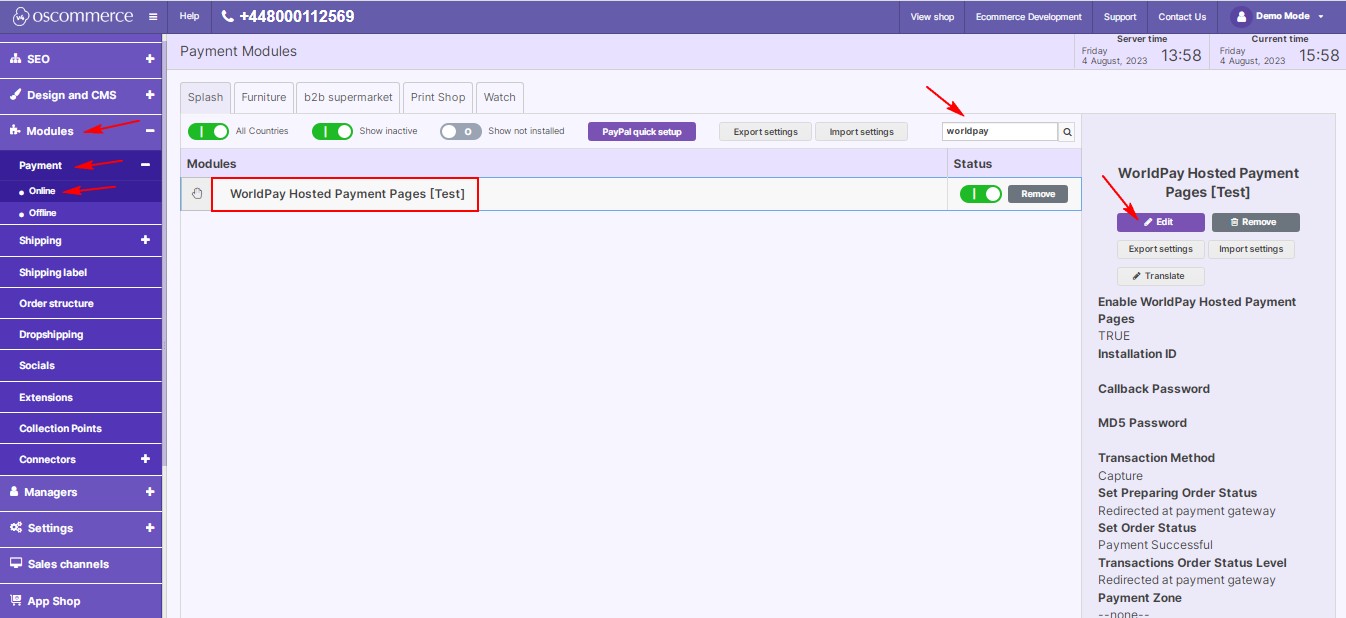
Step 2: Accessing Module Settings After successful installation, head to the "Modules," "Payment," and "Online" tabs. Locate the "WorldPay Hosted Payment Pages" module, click "Edit" to access settings, and prepare for customization. |
|
Step 3: Customizing the RBS WorldPay Module Restrictions: Tailor RBS WorldPay to your needs by restricting it to specific customer groups, countries, and website pages. Define the module name for both backend and frontend in your preferred language. |
|
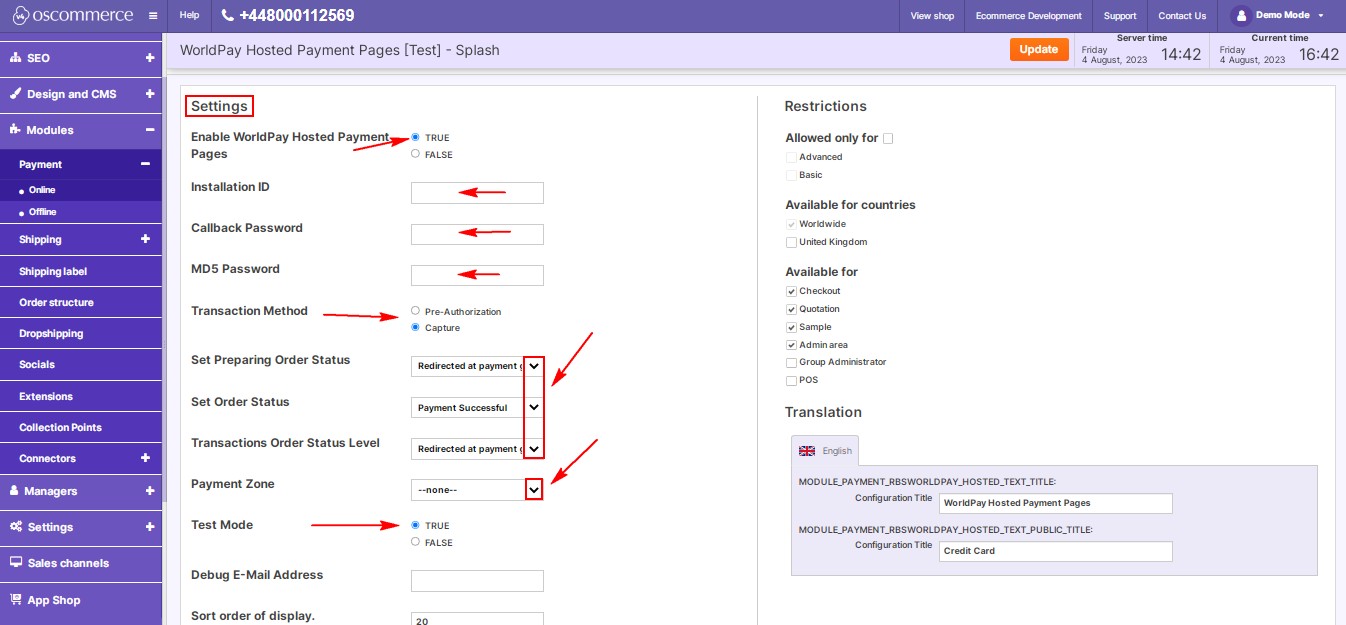 |
Settings: Configure RBS WorldPay options to match your preferences.
|
|
|
|
.jpg)
.jpg)
You've successfully navigated the installation and customization of the RBS WorldPay module. Your website is now equipped with a robust payment system, providing a seamless and secure experience for your customers.


