

Effective use of Google Tag Manager (GTM) is crucial for advanced e-commerce tracking. In this guide, we'll walk you through the necessary steps to set up GTM for comprehensive e-commerce data gathering. With precise configuration, you can enhance your analytics and make informed decisions. Let's get started.
|
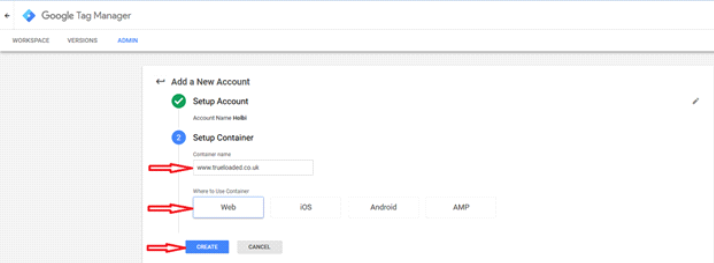
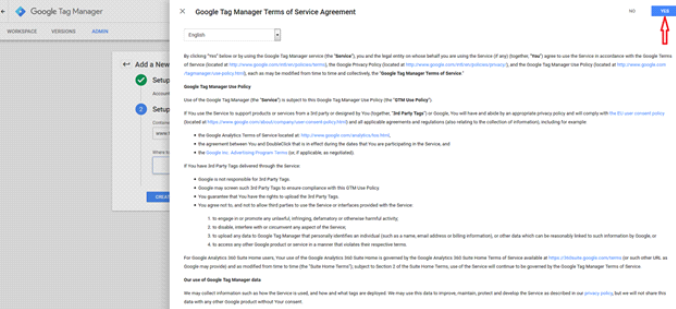
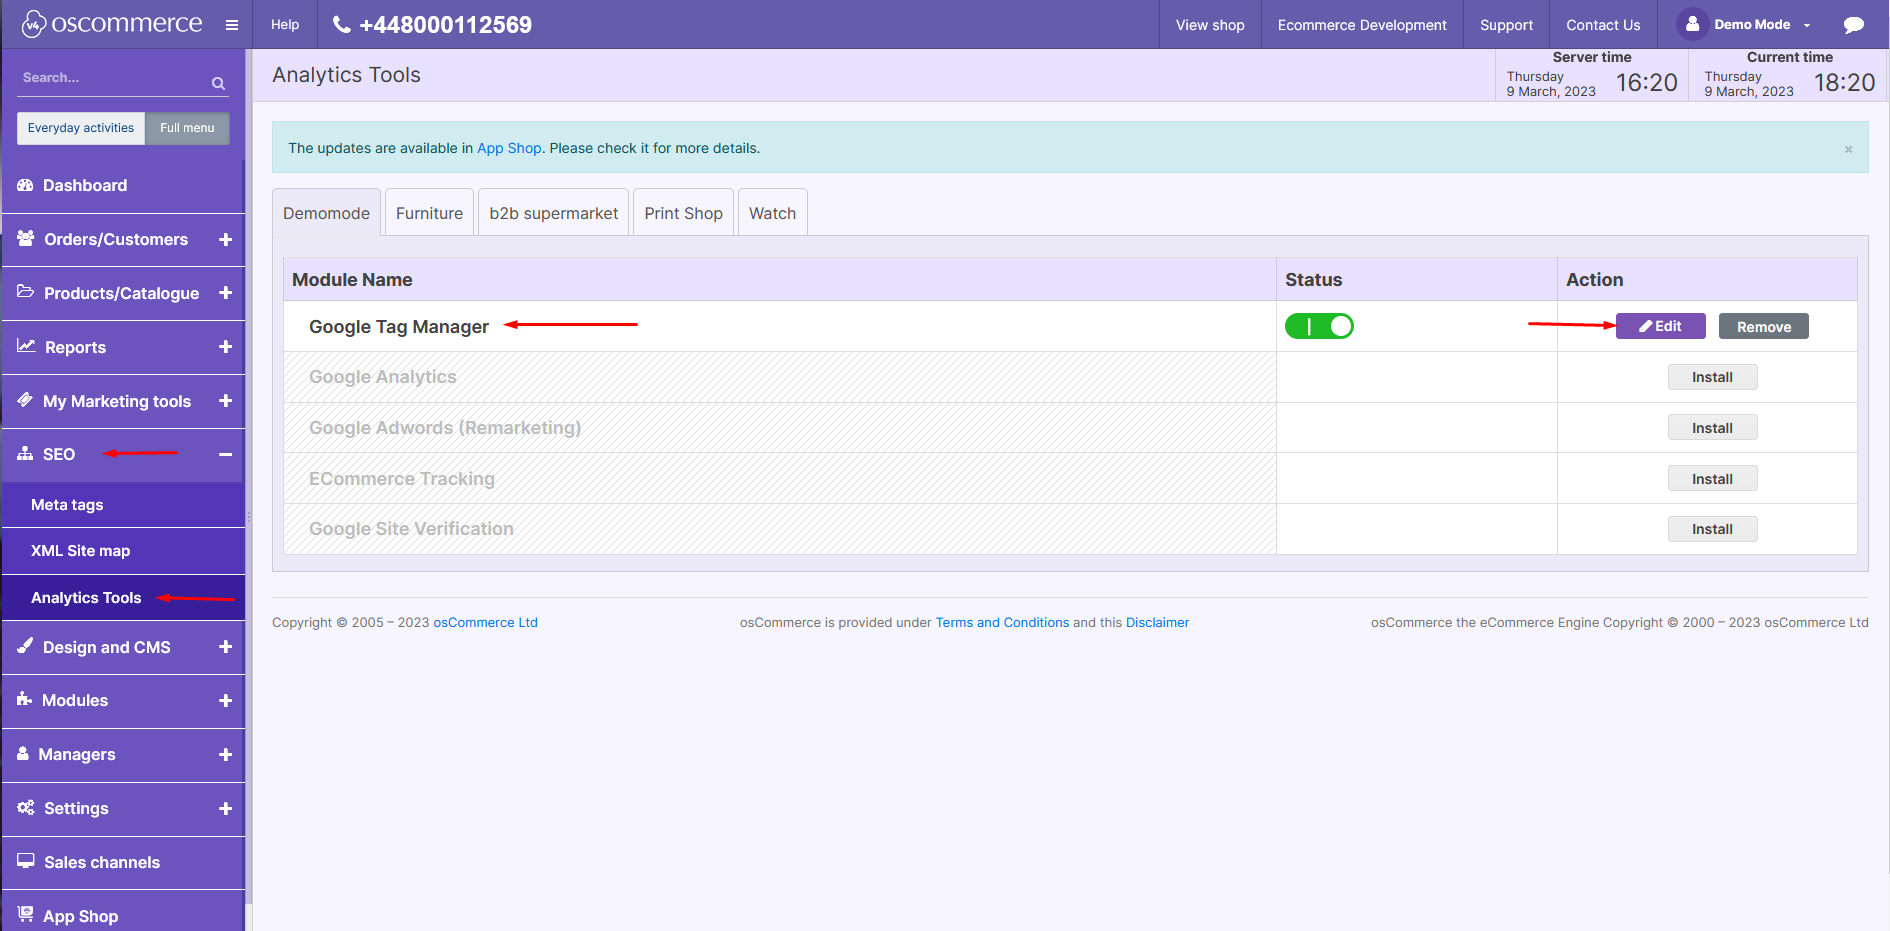
1. Creating a GTM Account:
|
|
|
|
|
|
|
 |
|
|
In our case, we set up the container via the admin area on the following page. It is necessary to indicate the code only like GTM-TG63T3S. While setting up GTM in the admin area, there is no need to use Google Analytics. |
|
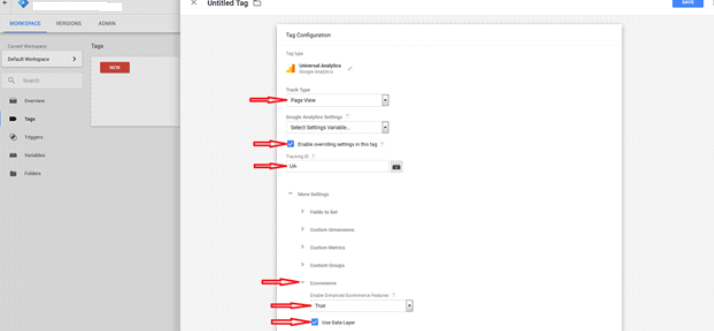
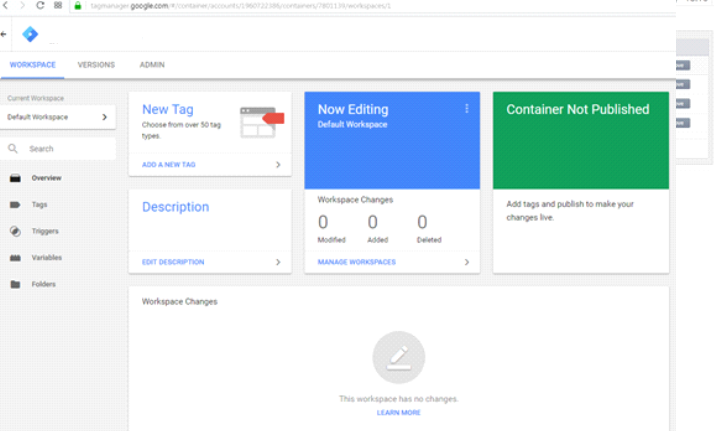
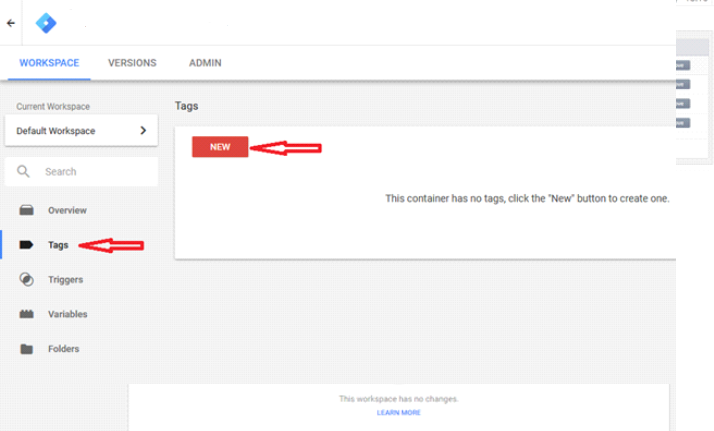
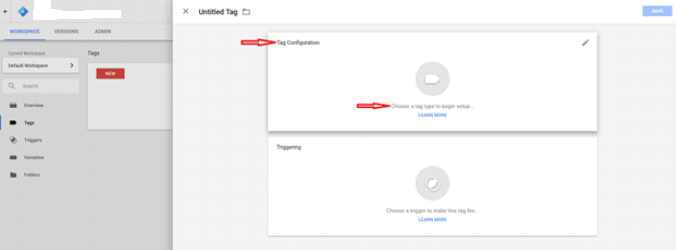
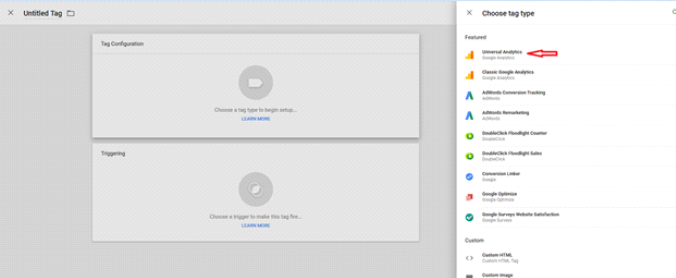
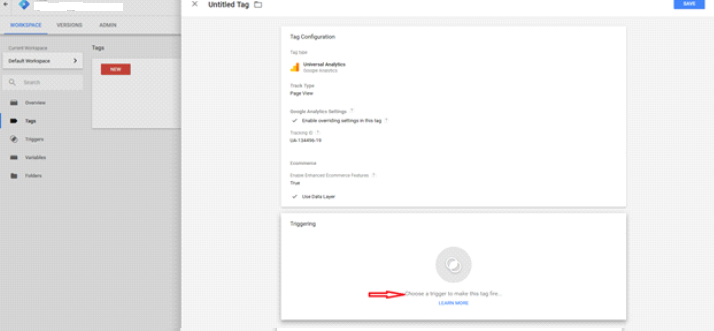
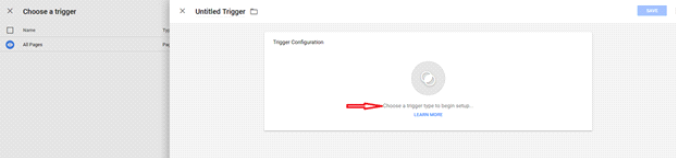
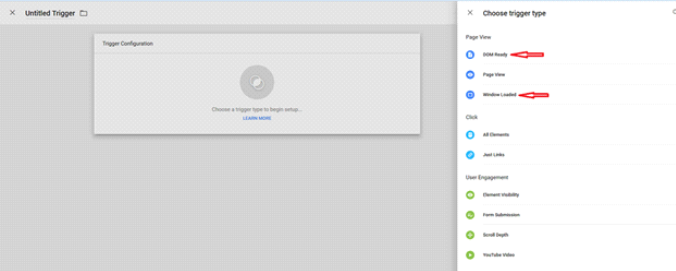
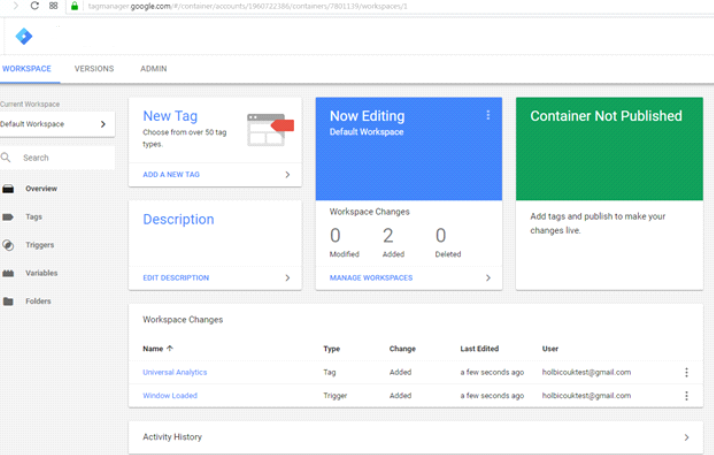
2. Configuring GTM for E-commerce Tracking:
|
|
|
|
|
|
|
 |
|
|
|
|
|
|
|
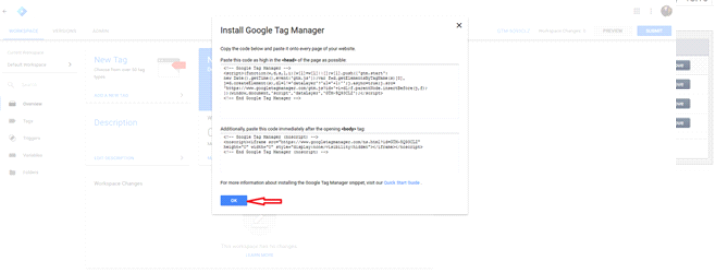
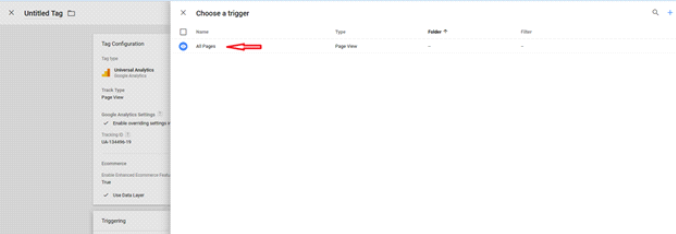
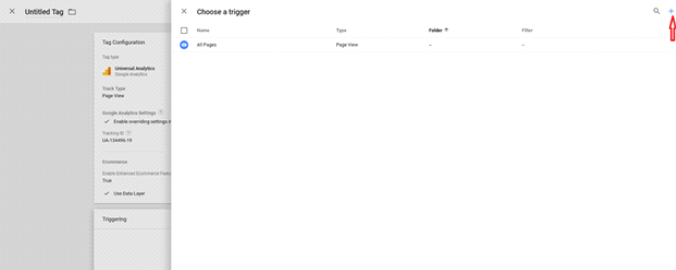
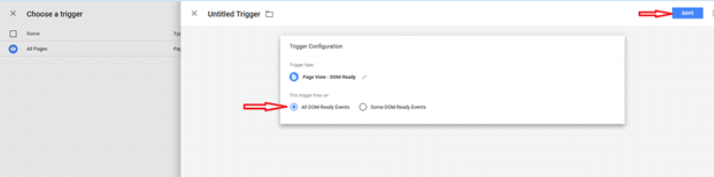
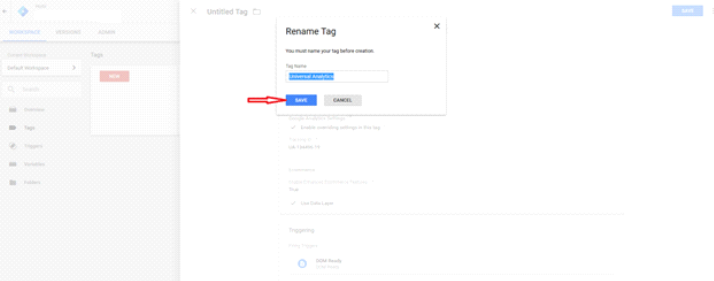
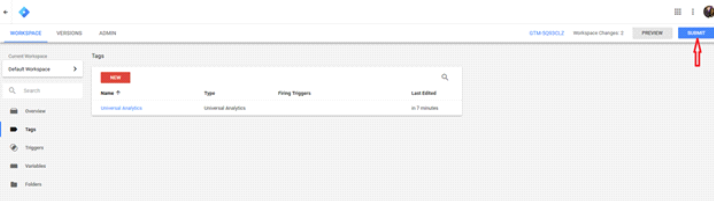
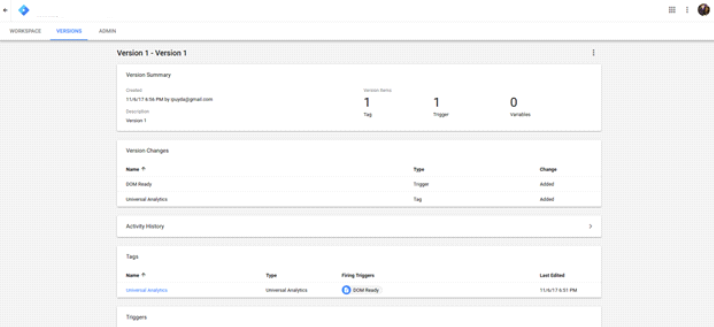
3. Saving and Activating GTM:
|
|
The possible look of the window after saving.
|
|
|
|
|
|
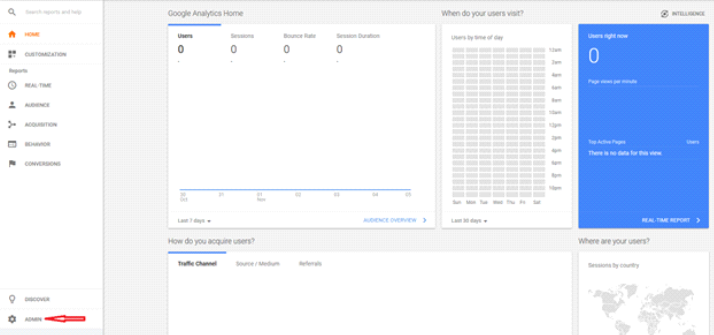
4. Enabling E-commerce Tracking:
|
|
|
|
5. Configuring Enhanced Ecommerce:
|
.png)

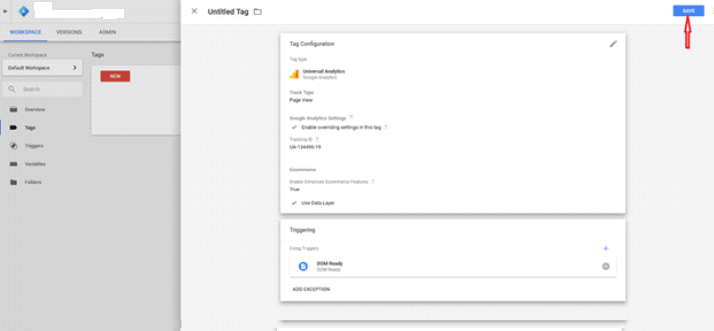
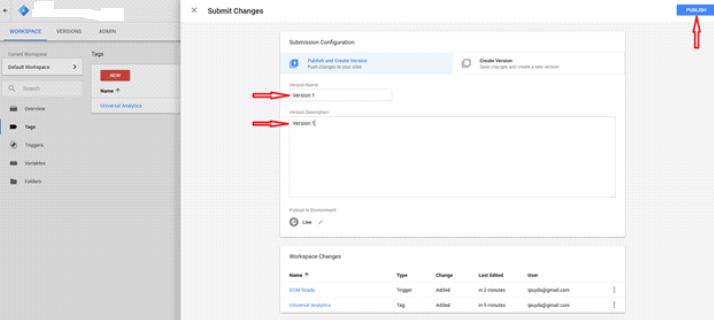
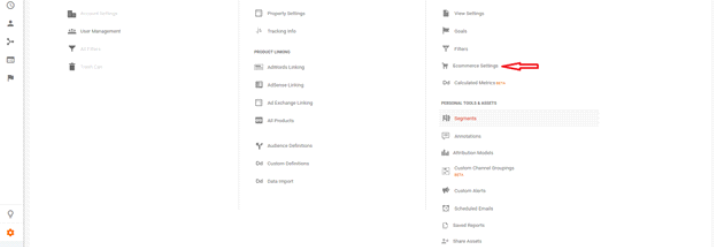

By following these steps, you've optimized your e-commerce tracking setup, empowering your business with valuable insights. Make sure to regularly monitor your analytics for actionable data that can drive your online strategy. Happy tracking!


